Houdini
OpenPype global tools
Publishing Alembic Cameras
You can publish baked camera in Alembic format.
Select your camera and go OpenPype -> Create and select Camera (abc).
This will create Alembic ROP in out with path and frame range already set. This node will have a name you've
assigned in the Creator menu. For example if you name the subset Default, output Alembic Driver will be named
cameraDefault. After that, you can OpenPype -> Publish and after some validations your camera will be published
to abc file.
Publishing Composites - Image Sequences
You can publish image sequences directly from Houdini's image COP networks.
You can use any COP node and publish the image sequence generated from it. For example this simple graph to generate some noise:

To publish the output of the radialblur1 go to OpenPype -> Create and
select Composite (Image Sequence). If you name the variant Noise this will create the /out/imagesequenceNoise Composite ROP with the frame range set.
When you hit Publish it will render image sequence from selected node.
Use selection
With Use selection is enabled on create the node you have selected when creating will be the node used for published. (It set the Composite ROP node's COP path to it). If you don't do this you'll have to manually set the path as needed on e.g. /out/imagesequenceNoise to ensure it outputs what you want.
Publishing Point Caches (alembic)
Publishing point caches in alembic format is pretty straightforward, but it is by default enforcing better compatibility
with other DCCs, so it needs data do be exported prepared in certain way. You need to add path attribute so objects
in alembic are better structured. When using alembic round trip in Houdini (loading alembics, modifying then and
then publishing modifications), path is automatically resolved by alembic nodes.
In this example, I've created this node graph on sop level, and I want to publish it as point cache.
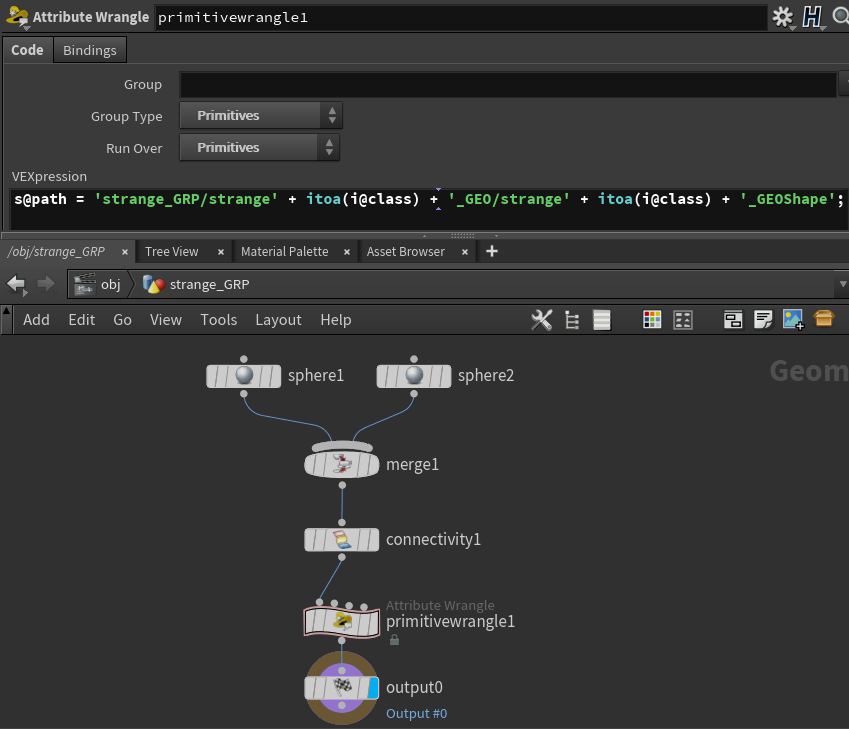
Note: connectivity will add index for each primitive and primitivewrangle1 will add path attribute, so it will
be for each primitive (sphere1 and sphere2) as Maya is expecting - strange_GRP/strange0_GEO/strange0_GEOShape. How
you handle path attribute is up to you, this is just an example.
Now select the output0 node and go OpenPype -> Create and select Point Cache. It will create
Alembic ROP /out/pointcacheStrange
Publishing Reviews (OpenGL)
To generate a review output from Houdini you need to create a review instance. Go to OpenPype -> Create and select Review.
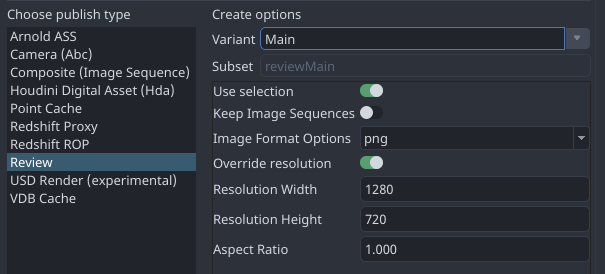
On create, with the Use Selection checkbox enabled it will set up the first camera found in your selection as the camera for the OpenGL ROP node and other non-cameras are set in Force Objects. It will then render those even if their display flag is disabled in your scene.
Redshift
Work in progress
This part of documentation is still work in progress.
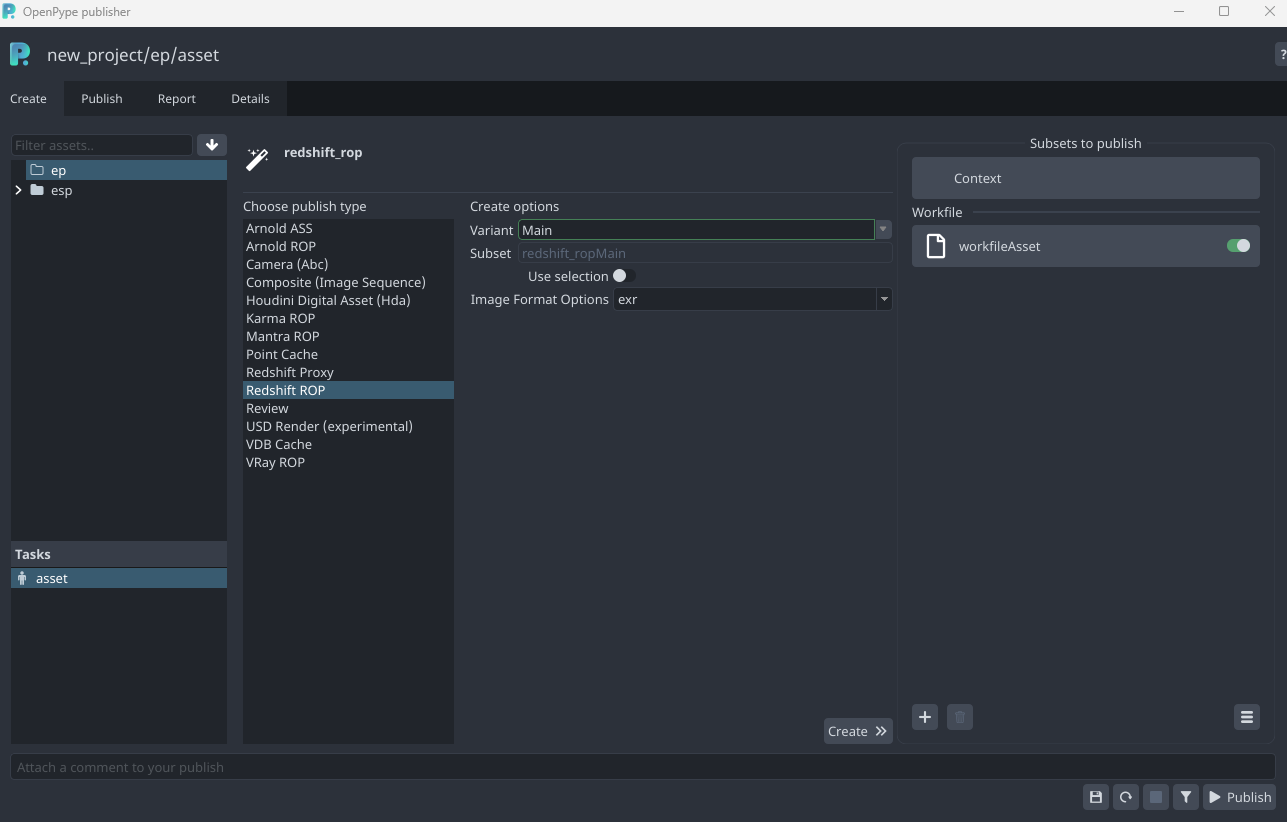
Publishing Render to Deadline
Five Renderers(Arnold, Redshift, Mantra, Karma, VRay) are supported for Render Publishing.
They are named with the suffix("_ROP")
To submit render to deadline, you need to create a Render instance.
Go to Openpype -> Create and select Publish. Before clicking Create button,
you need select your preferred image rendering format. You can also enable the Use selection to
select your render camera.
All the render outputs are stored in the pyblish/render directory within your project path.\ For Karma-specific render, it also outputs the USD render as default.
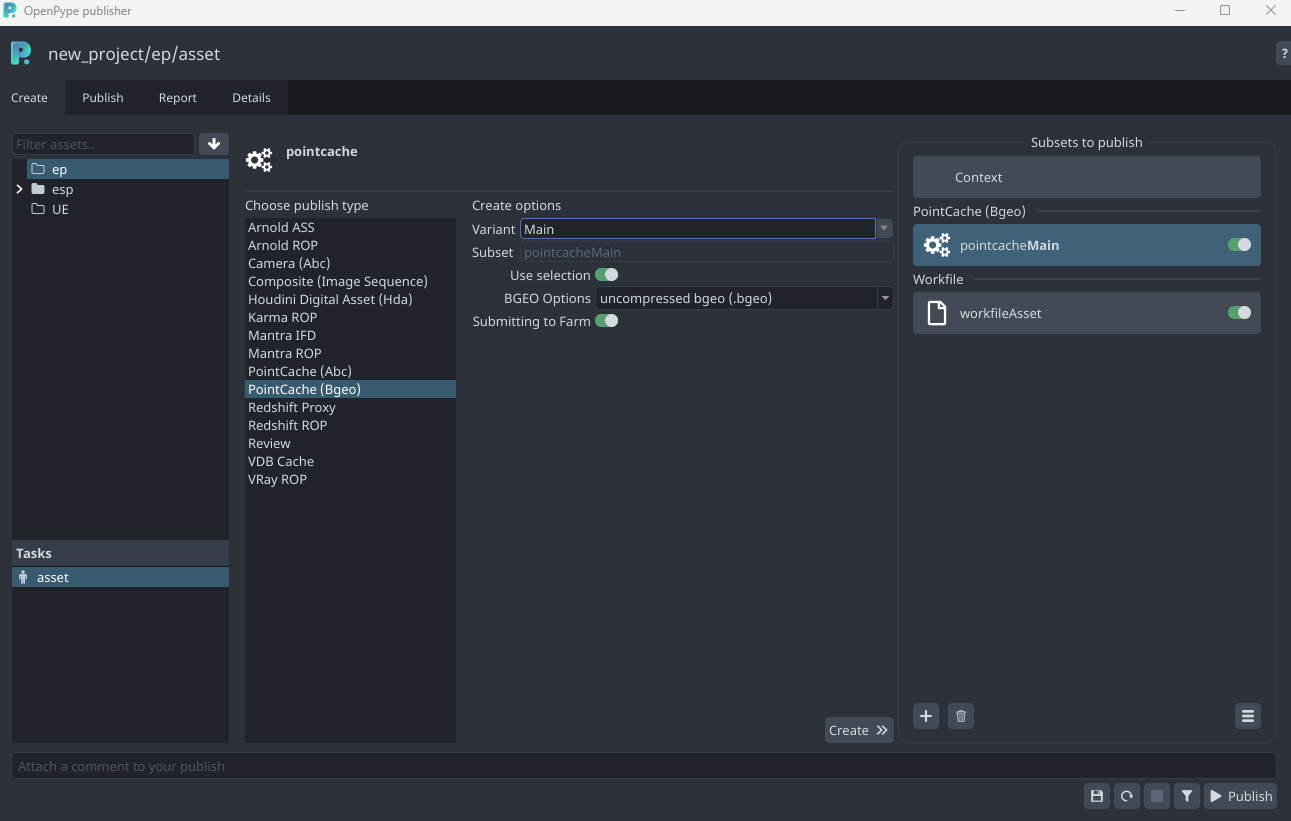
Publishing cache to Deadline
Artist can publish cache to deadline which increases productivity as artist can use local machine could be used for other tasks. Caching on the farm is supported for:
Arnold ASS (.ass) Pointcache (.bgeo and .abc) VDB (.vdb) Redshift Proxy (.rs)
To submit your cache to deadline, you need to create the instance(s) with clicking
Submitting to Farm and you can also enable Use selection to
select the object for caching in farm.
When you go to Publish Tab and click the instance(s), you can set up your preferred
Frame per task.
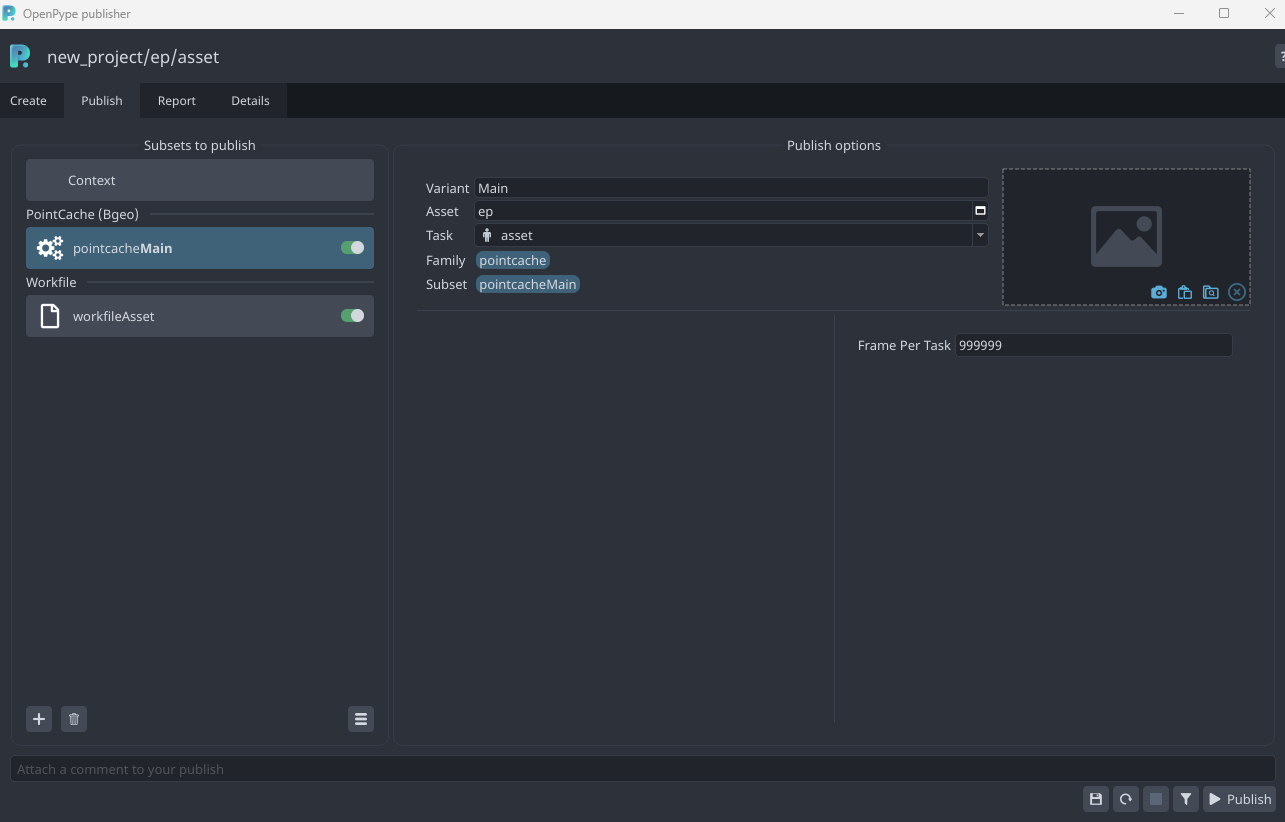
Once you hit Publish, the cache would be submitted and rendered in deadline.
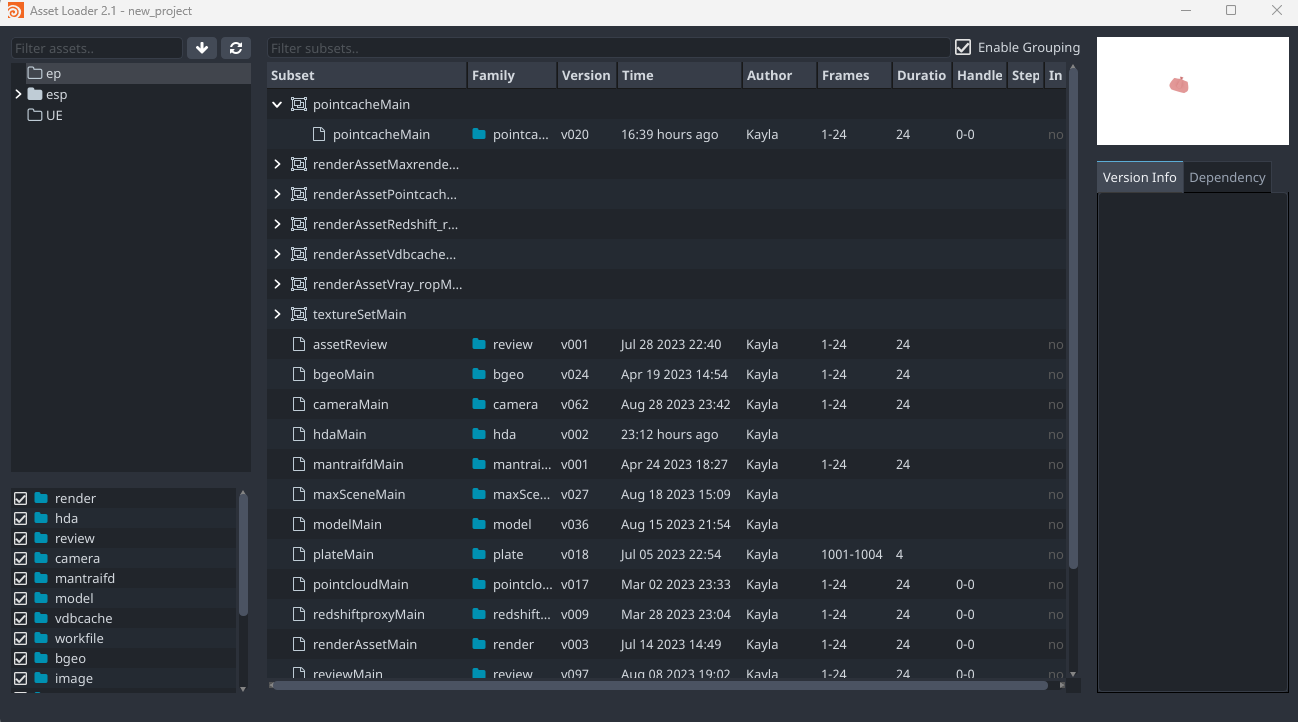
When the render is finished, all the caches would be located in your publish folder.
You can see them in the Loader.
USD (experimental support)
Publishing USD
You can publish your Solaris Stage as USD file.

This is very simple test stage. I've selected output lop node and went to OpenPype -> Create where I've
selected USD. This created /out/usdDefault USD ROP node.
Publishing USD render
USD Render works in similar manner as USD file, except it will create USD Render ROP node in out and will publish images produced by it. If you have selected node in Solaris Stage it will by added as lop path to ROP.
Publishing VDB
Publishing VDB files works as with other data types. In this example I've created simple PyroFX explosion from
sphere. In pyro_import I've converted the volume to VDB:
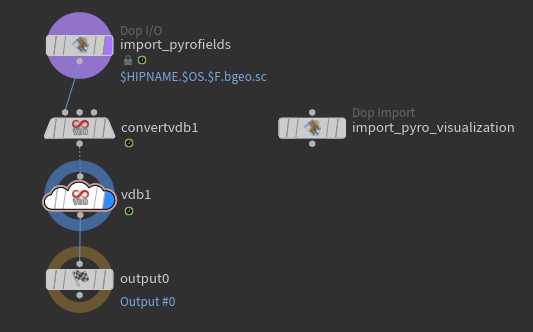
I've selected vdb1 and went OpenPype -> Create and selected VDB Cache. This will create
geometry ROP in /out and sets its paths to output vdb files. During the publishing process
whole dops are cooked.
Publishing Houdini Digital Assets (HDA)
You can publish most of the nodes in Houdini as hda for easy interchange of data between Houdini instances or even other DCCs with Houdini Engine.
Creating HDA
Simply select nodes you want to include in hda and go OpenPype -> Create and select Houdini digital asset (hda). You can even use already existing hda as a selected node, and it will be published (see below for limitation).
HDA Workflow limitations
As long as the hda is of same type - it is created from different nodes but using the same (subset) name, everything
is ok. But once you've published version of hda subset, you cannot change its type. For example, you create hda Foo
from Cube and Sphere - it will create hda subset named hdaFoo with the same type. You publish it as version 1.
Then you create version 2 with added Torus. Then you create version 3 from the scratch from completely different nodes,
but still using resulting subset name hdaFoo. Everything still works as expected. But then you use already
existing hda as a base, for example from different artist. Its type cannot be changed from what it was and so even if
it is named hdaFoo it has different type. It could be published, but you would never load it and retain ability to
switch versions between different hda types.
Loading HDA
When you load hda, it will install its type in your hip file and add published version as its definition file. When you switch version via Scene Manager, it will add its definition and set it as preferred.
Publishing and loading BGEO caches
There is a simple support for publishing and loading BGEO files in all supported compression variants.
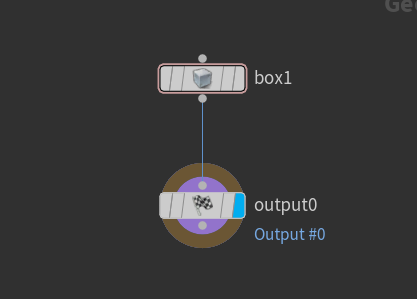
Creating BGEO instances
Select your SOP node to be exported as BGEO. If your selection is in the object level, OpenPype will try to find if there is an output node inside, the one with the lowest index will be used:
Then you can open Publisher, in Create you select BGEO PointCache:
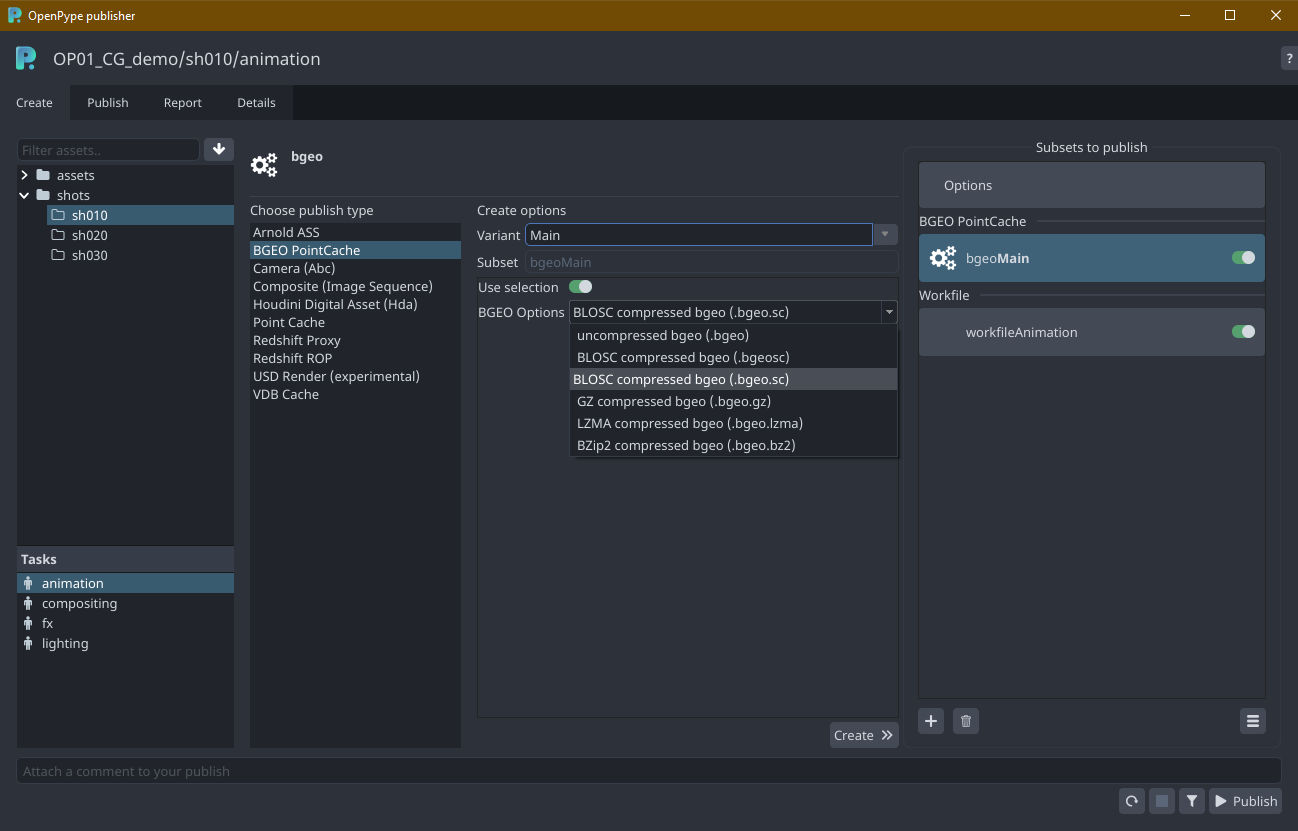
You can select compression type and if the current selection should be connected to ROPs SOP path parameter. Publishing will produce sequence of files based on your timeline settings.
Loading BGEO
Select your published BGEO subsets in Loader, right click and load them in:
